
Learning how to use Blender is easier when you stop trying to master everything at once. Blender is a powerful 3D tool, but most beginners only need a small set of skills first: navigating the workspace, creating simple objects, editing forms, applying materials, lighting a scene, and rendering the result.
Once those basics feel familiar, the software becomes much less intimidating. Blender is broad, but it is learnable when you approach it in stages.
What Blender is best used for
Blender is a 3D creation suite used for modeling, animation, rendering, motion graphics, product visualization, and scene building. Designers and artists use it for everything from mockups and concept visuals to more advanced animation work.
That does not mean you need to learn every area at once. If your goal is to create simple 3D visuals, brand mockups, or event renders, start there and build outward.
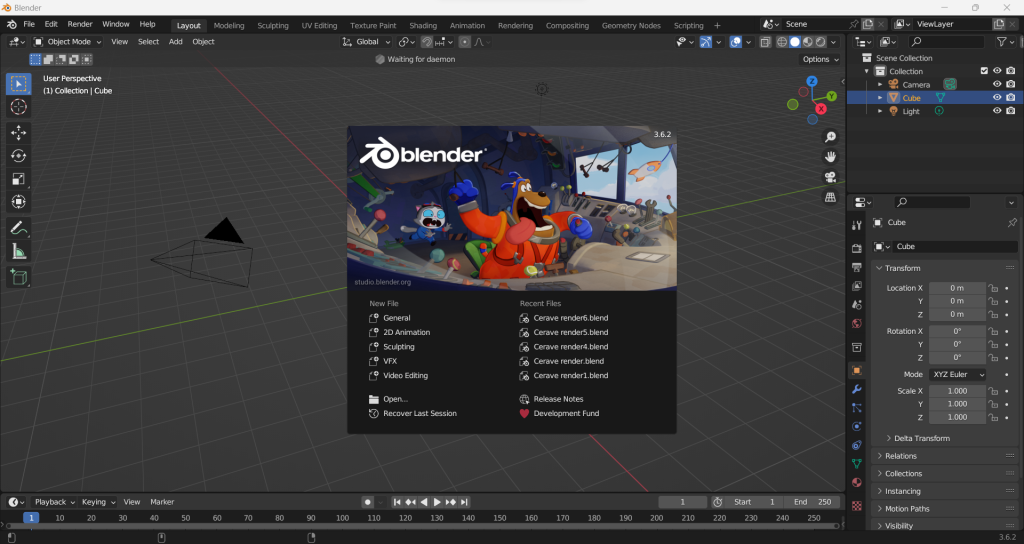
Begin by learning the interface, not the whole software
The first useful milestone is comfort with the interface. Blender includes many panels, tools, and modes, but beginners usually need to understand just a few parts first:
- the 3D viewport, where you move around the scene
- the outliner, where objects are organized
- the properties panel, where settings are adjusted
- object mode and edit mode, where most early work happens
Instead of memorizing every menu, focus on how to move through the workspace calmly and predictably.
Learn the three actions you will use constantly
In most beginner Blender workflows, you will repeatedly move, rotate, and scale objects. If you become comfortable with those three actions, the software starts to feel much less mechanical.
That matters because 3D work is built from repeated small decisions. Strong progress often comes from learning a few core actions very well rather than collecting random tricks.
Start with simple modeling
When people first open Blender, they often jump straight to complex characters or cinematic scenes. That usually slows learning down. A better starting point is simple modeling: boxes, cylinders, signage, product forms, or basic environment pieces.
Good beginner modeling practice includes:
- adding a simple mesh such as a cube or plane
- editing its shape gradually
- learning how faces, edges, and vertices work
- using modifiers carefully instead of forcing every detail by hand
This builds the habits needed for more ambitious work later.
Use materials and lighting to make work feel believable
Many beginner scenes look flat not because the modeling is bad, but because the materials and lighting are weak. Even simple objects can look much stronger once the surface behavior and lighting direction are handled well.
Focus on the basics first:
- assigning a material to an object
- adjusting roughness, color, and reflectivity
- placing a simple key light or studio-style setup
- checking how shadows help define form
This is often the stage where Blender starts to feel rewarding.
Render with a clear outcome in mind
Rendering is the step where Blender turns your 3D scene into an image or animation output. Before you render, decide what the final asset is for. A quick concept image, client mockup, and polished presentation render do not need the same level of detail.
That is especially relevant for creative businesses. If the work is being made for branding, events, or digital campaigns, clarity of presentation often matters more than showing off every technical feature Blender offers.
Practice with projects that match real design work
One of the fastest ways to learn Blender is to practice on small, realistic projects. Instead of random exercises, try making things that resemble the kind of work you want to do later.
Examples include:
- a simple product mockup
- a branded display stand
- a basic room or booth layout
- a packaging concept render
- a lighting study for a logo or object
That makes the learning more useful and easier to retain.
Common beginner mistakes in Blender
Some of the most common Blender frustrations come from avoidable habits:
- trying to learn animation, modeling, sculpting, and compositing all at once
- copying tutorials without understanding why steps are being taken
- ignoring scale, proportions, or scene organization
- using poor lighting and assuming the model itself is the problem
- expecting polished results before developing foundational control
Progress becomes steadier when you treat Blender as a design tool that rewards repetition and patience.
How Blender fits into creative workflow
For many designers, Blender is not the whole job. It is one part of a wider creative process that may also include branding, layouts, motion, event visualization, or digital presentations. That is why it helps to connect Blender skills to practical outcomes instead of learning in isolation.
At Peasner, that mindset fits naturally with work in interactive media design and visual presentation, especially where 3D space helps communicate an idea more clearly.
Final takeaway
To use Blender well, start with navigation, simple modeling, basic materials, lighting, and rendering. Keep your first projects small, relevant, and repeatable. Once the fundamentals feel natural, Blender becomes much more flexible and much more enjoyable to use.

