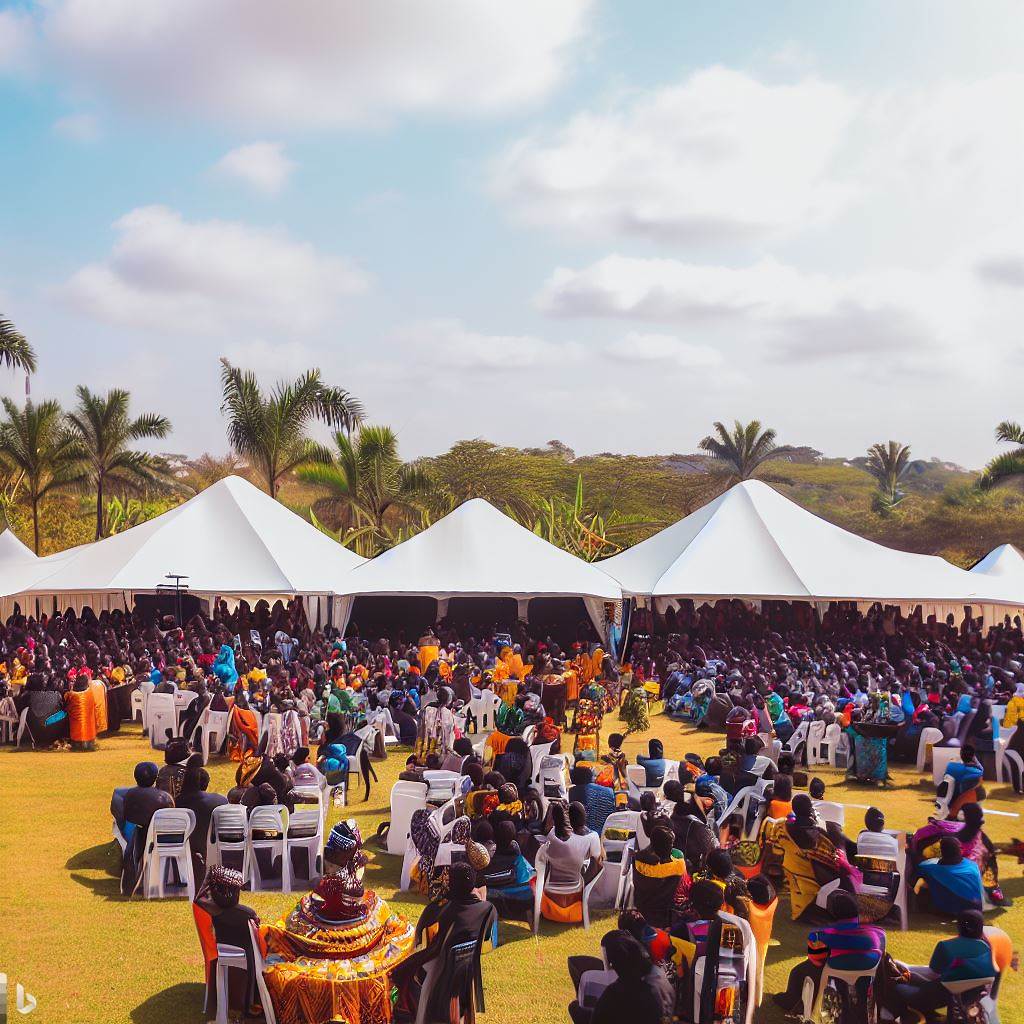

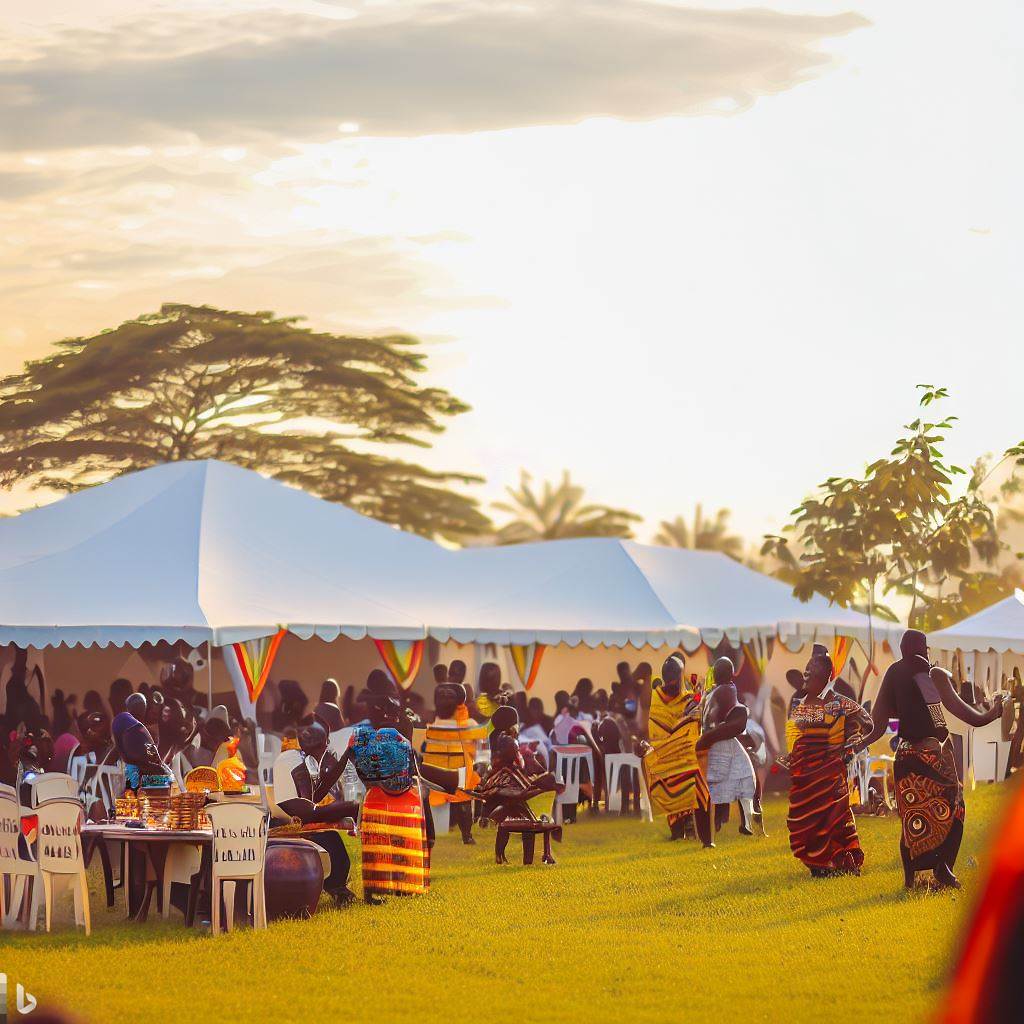
A successful event is easier to remember when the branding, space, signage, stage, visuals, and guest touchpoints all feel connected. For conferences, launches, activations, exhibitions, weddings, school events, and corporate functions in Kenya, event design should do more than decorate the venue. It should help guests understand the event, move through the space, recognize the host brand, and remember the experience after they leave.
This checklist explains how to plan event branding and visual design before production begins, especially when the event needs banners, photowalls, stage artwork, entrance arches, table branding, directional signage, merchandise, and social media visuals.
Start with the event goal
Before choosing colors, flowers, lighting, or signage, define what the event needs to achieve. A corporate summit has different requirements from a product launch, wedding, graduation, exhibition booth, or brand activation.
Clarify:
- the main purpose of the event
- the audience attending
- the message guests should remember
- the brand or theme that must be visible
- the photos and videos the event should produce
- the materials that need to be printed or fabricated
Create a visual direction before production
A visual direction helps everyone align before money is spent on printing, decor, fabrication, or setup. This can include moodboards, color references, typography, sample layouts, 3D renders, and key design applications.
For branded events, the visual direction should connect with the organization’s identity. For weddings and private events, it should connect with the theme, venue, attire, and desired mood.
Plan the main event touchpoints
Event branding becomes stronger when you identify the spaces and materials guests will interact with. These touchpoints should not feel random. They should guide attention and reinforce the event identity.
Common touchpoints include:
- entrance signage and welcome boards
- registration desk branding
- stage backdrop or LED screen artwork
- photowall or media wall
- directional signage
- table numbers, menus, tags, and programs
- banners, flags, and roll-up stands
- exhibition booth walls and counters
- gift bags, badges, notebooks, and lanyards
- social media templates for promotion and recap posts
Use 3D renders for complex setups
For stages, booths, arches, photowalls, and branded environments, flat artwork may not be enough. A 3D render helps the client, event planner, fabricator, and production team see the concept before setup day.
Renders are useful because they show scale, placement, viewing angles, and how the design will appear inside the venue. They also reduce misunderstandings before printing or fabrication starts. For a practical example, see our exhibition booth design case study.
Design for photos and video
Many guests will experience the event twice: once in the room and once through photos, videos, and social media posts. That means the design should work on camera.
Check whether:
- the logo is visible behind speakers and key guests
- the photowall has enough clean space for people
- the stage artwork is readable from a distance
- lighting supports the main visual zones
- colors will not disappear in photos
- sponsor logos are placed clearly without crowding the layout
Keep signage clear and useful
Good signage reduces confusion. It helps guests find registration, sessions, washrooms, parking, booths, dining areas, and photo zones. A beautiful event can still feel poorly planned if guests keep asking where to go.
Use readable typography, strong contrast, and short wording. Directional signage should be placed where decisions happen, not after guests are already lost.
Match materials to the event timeline
Some event materials can be produced quickly, while others need more lead time. Booth structures, custom fabrication, merchandise, premium print finishes, signage frames, and large-format printing should be planned early.
Build a production list with:
- item name
- size
- quantity
- material
- print finish
- installation location
- approval deadline
Connect event branding with merchandise
If the event includes gift bags, notebooks, T-shirts, bottles, lanyards, or sponsor items, the merchandise should match the event identity. Branded items are part of the experience, not an afterthought.
For planning ideas, read our guide to corporate gifts in Kenya and the guide to eco-friendly promotional items.
Event branding checklist
- Define the event goal and audience
- Confirm theme, brand rules, and key message
- Create a visual direction or moodboard
- List every signage and branding touchpoint
- Design stage, entrance, and photowall artwork early
- Use 3D renders for booths, stages, arches, and complex setups
- Check camera visibility for logos and sponsor marks
- Prepare print-ready files with correct dimensions
- Confirm materials, quantities, and production timelines
- Plan social media graphics for before, during, and after the event
How Peasner helps with event design
Peasner Creatives helps plan and design branded event materials for conferences, exhibitions, activations, launches, weddings, and corporate functions. The work can include event concepts, stage backdrops, photowalls, entrance arches, booth renders, signage, print files, and social media graphics.
If you are preparing an event, send your theme, venue details, floor plan, brand assets, and deadline so the event visuals can be planned before production begins.
Final takeaway
A memorable event is not created by decoration alone. It comes from clear planning, consistent branding, practical signage, strong visual moments, and production files that match the real venue. When the visuals are planned early, the event becomes easier to approve, easier to produce, and easier for guests to remember.

